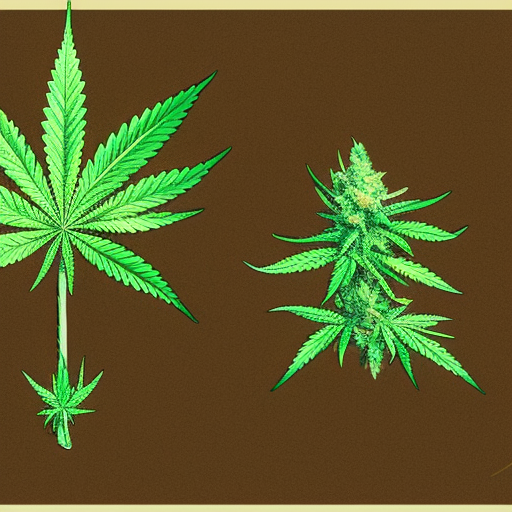
Yo, yo, yo! Ready to learn how to grow that sticky icky? Ain’t no thang, homie. This beginner’s guide got you covered. We gonna take you from seed to tree, step-by-step. So, roll up some of that good-good and let’s get started.
First things first, you gotta get your hands on some seeds. You can either get them online or from a dispensary. Make sure they’re high-quality seeds though, cuz they’ll determine the quality of your buds. I highly recommend ILGM for your seed purchasing needs. They got guaranteed delivery and germination, so you know they got your back.
Once you got your seeds, soak them in water for about 12 hours. This will help them germinate faster.
Next up, you gotta decide where you wanna grow your plants. If you live in an area where weed is legal, you can grow them outdoors. If not, you might wanna consider growing them indoors. You can use a grow tent or a grow box for this. Indoors is best if you don’t want any unwanted attention from the cops. Plus, it’s easier to control the environment and keep pests away.
Now that you’ve got your seeds and decided where to plant them, it’s time to prepare the soil or growing medium. You can use soil from your backyard, but make sure it’s nutrient-rich and doesn’t have any pests or diseases. A potentially better option is to buy potting mix at your local garden store. Alternatively, you can use coco coir or peat moss as a growing medium. These mediums are sterile and have a neutral pH level which is perfect for growing cannabis.
Once your soil or growing medium is ready, it’s time to plant your seeds. Dig a small hole in the soil or medium and place the seed inside with the taproot facing down. Cover it with soil or medium and water it gently. Make sure not to overwater the soil or medium as it can lead to root rot.
Now comes the fun part – watching your plant grow! Make sure to give it plenty of light, either from the sun if growing outdoors or from grow lights if growing indoors. Your plant will need at least 18 hours of light per day during its vegetative stage and 12 hours of light during its flowering stage.
During the vegetative stage, your plant will grow leaves and stems rapidly. This is when you should start fertilizing it with nitrogen-rich fertilizers to promote healthy growth. Once your plant reaches its flowering stage, you’ll need to switch to phosphorus-rich fertilizers to help it produce buds.
Make sure to keep an eye on your plant and look out for any signs of pests or diseases. Cannabis plants are prone to spider mites, whiteflies, and powdery mildew. You can use organic pesticides or oils to treat these issues.
As your plant starts to mature, it will produce buds which will eventually turn into those sticky icky flowers we all love so much. It’s important to harvest them at the right time to get the maximum potency and flavor. You can tell when it’s time to harvest by checking the trichomes (the tiny crystals on the buds) under a microscope or magnifying glass. When the trichomes change from clear to milky white, the plants are ready to chop!
Once you’ve harvested your buds, it’s time to dry and cure them. Hang them upside down in a cool and dark room for about a week until they’re dry enough to smoke. After that, you’ll want to trim off excess leaves.
Finally, you can place your buds in jars and open them once a day for about 15 minutes for the first week to let out any excess moisture.
And that’s it, homie! You’ve gone from seed to tree and grown some dank bomb weed! Just be careful when smoking it though – that sticky icky is potent AF!


